The rear seat backrest in trimmed in 3 sections on a common frame - left, right and center armrest. This is very convenient with the Jersey rayé material as it allows for any deviation in the striped pattern to be adjusted to match the rear cushion, it also allows you to strip down and retrim one side at a time using the other side as a reference. The center armrest is secured on a folding assembly secured to the main framework by 2 countersunk screws and 2 plain screws with washers. The plain screws were found loose on disassembly - more on this later. After removing the screws a flap of material is secured by barbed tangs folded over a rod which is fed through a sleeve in the material. Folding back the tangs allows you to release the trim and remove the armrest.
 |
| Center armrest assembly secured to main framework |
 |
| Deterioration of the hessian can be seen here |
 |
| Damaged trim on the right hand side |
 |
| Damaged trim on the left hand side |
 |
| Close-up of the center armrest securing screws |
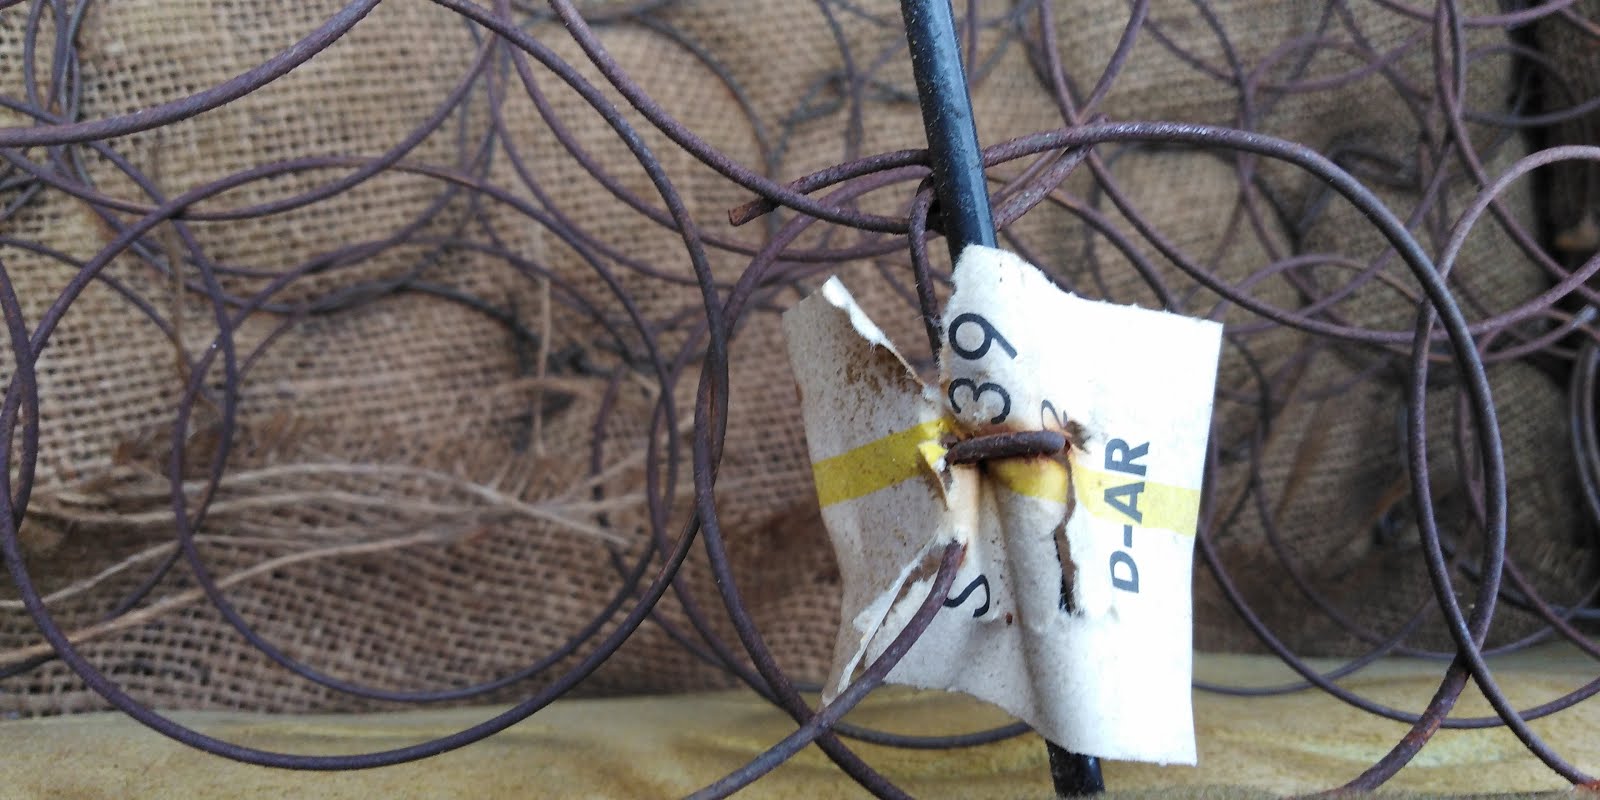
The next 3 images show some labels which have been left in place for originality, I've not done any research on these but must have been used at the factory for production purposes.

 |
| Center armrest removed |
 |
| Material removed from around top of backrest and the foam padding has vanished |
The center armrest is basically a foam topped wooden frame which is secured to the metal assembly by 4 screws and nuts, removing these allows removal of the trim material which was secured by staples.
 |
| Removal of the armrest wooden frame |
 |
| Unpicking staples out of the wood |
 |
| More staples |
Started working on the right hand side for no reason. More barbed tangs secure the top of the seat cover, bending the tangs back allow you to release the top of the cover. The rest of the cover is secured by hog rings onto the metal framework, remove the hog rings and the cover slips off. As with the seat cushion previously, the foam on the backrest had shrunk down in size and needed additional foam padding glueing in place to pad it out more, I used 1 inch on the backrests and ½ inch on the sides. Fitting the new cover I started at the top as the position of the material is 'fixed'. A dry fit in the car then allows you to align the bottom of the new backrest cover to the new cushion cover, once the pattern meets up it can be secured by hog rings. Repeat for the left hand side and the center armrest can be refitted.
 |
| Extra foam padding for the right hand side |
 |
| Top of seat cover secured by tangs on the framework |
 |
| Extra foam padding for the left hand side |
Inevitably there was a crease on the left hand side seat cover which did not disappear as I hoped it would when fitted. Fortunately I watch far too much daytime TV on car restoration. The solution is steam, applying steam to nylon allows it to be shrunk and smoothed by hand back to the normal shape. Using a steam iron allows you to direct a blast of steam onto the crease and it really does vanish before your eyes.
Caveat: Please consider the risks of using a hot Iron near nylon material you could soon end up with an expensive melted mess, I held the iron about 2-3 inches away from the material.
 |
| Visible crease in seat cover from being folded in a cardboard box |
 |
The power of steam - there is no app for this!
Looks even better now after a few days in the car |
Back to those loose screws on the center armrest. On the back of the backrest there is a thin board to hide the frame and springs etc from being visible when opening the boot lid. Mine was completely missing, probably suffered from damp and fell off. It was originally secured just by those two loose screws in the middle and the rest of it was just sandwiched between the outer part of the seat frame and the bulkhead.
Woolies trim supply millboard for such use and can be cut with a knife or tin snips, trial and error determined the size of the finished board, I secured the corners with some tie wraps just to stop the millboard from flapping around when trying to put it back in the car - these won't be visible from inside the boot.
 |
| Millboard backing finishing the the backrest framework |


Hi Colin,
ReplyDeleteGood to see you back working on the car, question. . .
The backing for the backrest, did you make it or buy repro?
Looking really good, nice work :)
Chris (GreenBlood Aussiefrogs)
Hi Chris,
DeleteThanks for the comments, I haven't had chance to do the write up yet for this post but I was going to mention this later. I made the backing myself out of 'millboard' from Woolies trim. You can find it here.
https://www.woolies-trim.co.uk/product/1648/millboard
More on this later.
RegarDS
Colin.
Hi Colin. Nice write up. Are you also re-covering the door cards? I'd like to see that written up if so. On my old 1969 ID, the rear seat backing was indeed soggy and warped. A victim of water running down the inside of the 'C'posts and I think I chucked it. I vaguely recall it being held on with hog rings, but can't be sure. If it's still on this year, I'll have to peer in a few boots at the D rally.
ReplyDeleteHi Paul
ReplyDeleteThanks for the comments, I'm not too sure what to do with my door cards at the moment as they are in quite good condition. They are an easy job to remove so I might just see what they look like in place when I have built the doors up with glass etc.
It might not be too clear from the images but the rear seat backrest card is just held in place with the two bolts that secure the centre armrest in place, the rest of it is just sandwiched between the seat frame and the boot aperture/c-posts. You might be able to see a couple of tie-wraps on mine. I put these on just for a little more security while installing it (they can’t be seen when the backrest is in place) I might be completely wrong on this as mine was missing when I bought the car so I also need to peer into DS boots, let me know if you get any more information.
RegarDS
Colin.